Follow Me On Social Media!
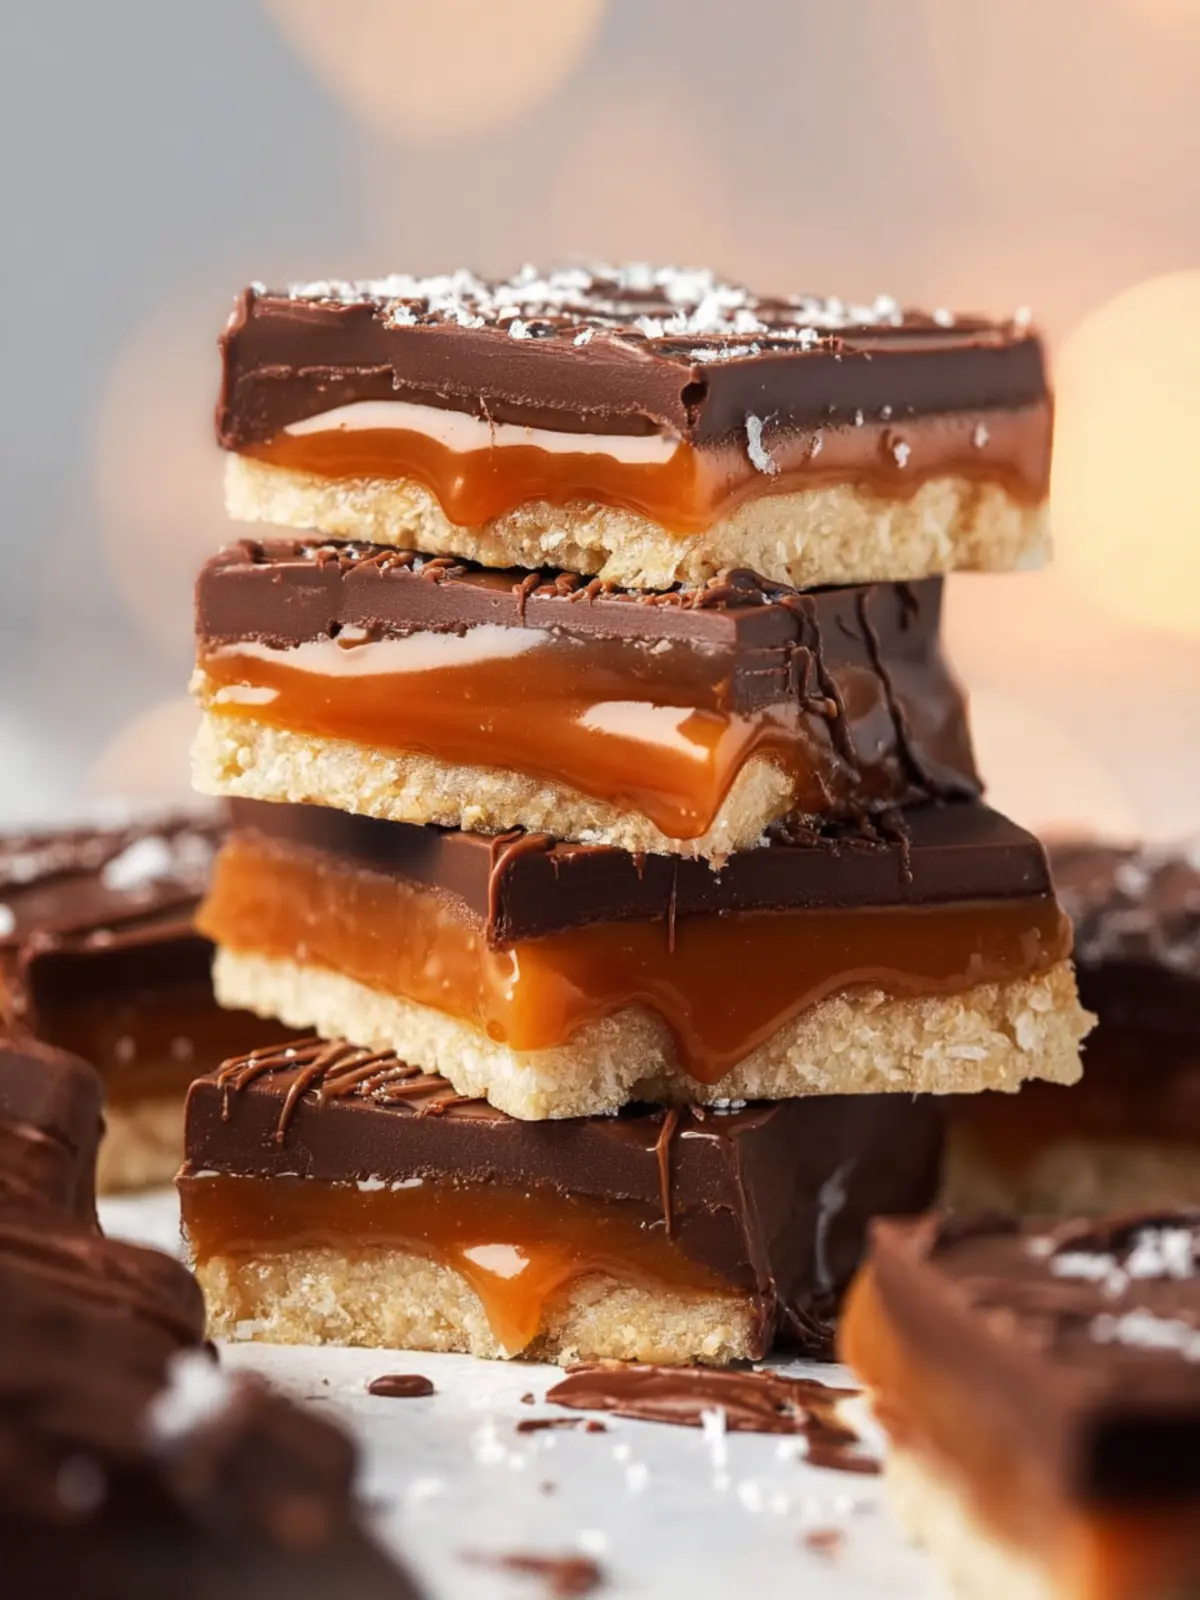
Homemade Twix Bars: The Indulgent Treat You Can’t Resist
Introduction to Homemade Twix Bars
There’s a charm to homemade Twix bars that store-bought sweets simply can’t replicate. Picture this: it’s a rainy afternoon, and the scent of melting chocolate and caramel fills the kitchen, reminiscent of baking sessions from childhood. Those simple ingredients transform into a comforting, nostalgic treat, and suddenly, it feels like time travel to carefree days spent in our grandparents’ kitchens. Creating your own chocolate bars pulls at the heartstrings, wrapping you in warmth while satisfying your sweet tooth.
When you think about it, there’s something special about making delicious homemade treats. The process is just as joyful as the end result! The satisfaction of watching the layers come together—from the buttery shortbread base to the gooey caramel layer and finally the luscious chocolate coating—is an experience that brings a smile to your face. It’s a culinary journey that involves more than just mixing ingredients; it’s about connecting with your inner chef and bringing a bit of creativity to life.
What’s more, homemade Twix bars allow you to customize and control everything going into them. If you’re a fan of dark chocolate, why not switch things up? Or perhaps you want to add a hint of sea salt for that gourmet touch? The possibilities are endless! Plus, making these candy bars is an opportunity for bonding—gather your friends or involve the little ones in the fun. Cooking together fosters connections and creates lasting memories, all while deliciously indulging in something sweet.
So, if you’re ready to roll up your sleeves and experience the joy of crafting homemade Twix bars, let’s dive into the recipe! Trust me; your taste buds will thank you, and you’ll find it hard to resist not sharing a few with friends (even if you might want to keep them all for yourself). Get ready to create a treat that’s not just dessert—it’s a delightful adventure in the kitchen!
Key Ingredients for Homemade Twix Bars
Creating homemade Twix bars is like crafting your own sweet symphony, where each ingredient plays a vital role in achieving a perfect balance of flavors and textures. Let’s break down the key players in this delightful treat.
-
Shortbread: The base of your bars, shortbread, is all about buttery goodness. For a rich flavor and crumbly texture, using unsalted butter is essential. You want that melt-in-your-mouth experience, and a combination of flour and a hint of sugar ensures it’s not too sweet.
-
Caramel: This is where the magic happens. A silky caramel layer is crucial for that signature Twix taste. Opt for homemade caramel made from sugar, butter, and cream, which will give you that ooey-gooey texture that store-bought varieties can’t match.
-
Chocolate: You can’t skip the chocolate coating! Using high-quality milk chocolate will add just the right amount of sweetness and creaminess. Dark chocolate can be used for a more sophisticated touch if you prefer a slightly bitter contrast.
-
Sea Salt: This is a little twist that elevates your bars. A sprinkle of sea salt on top of the chocolate brings out the sweetness, creating a well-rounded flavor profile that will leave your taste buds singing.
With these ingredients in hand, you’re set to whip up a batch of homemade Twix bars that will surely impress friends and family alike. Happy baking!
Why You’ll Love These Homemade Twix Bars
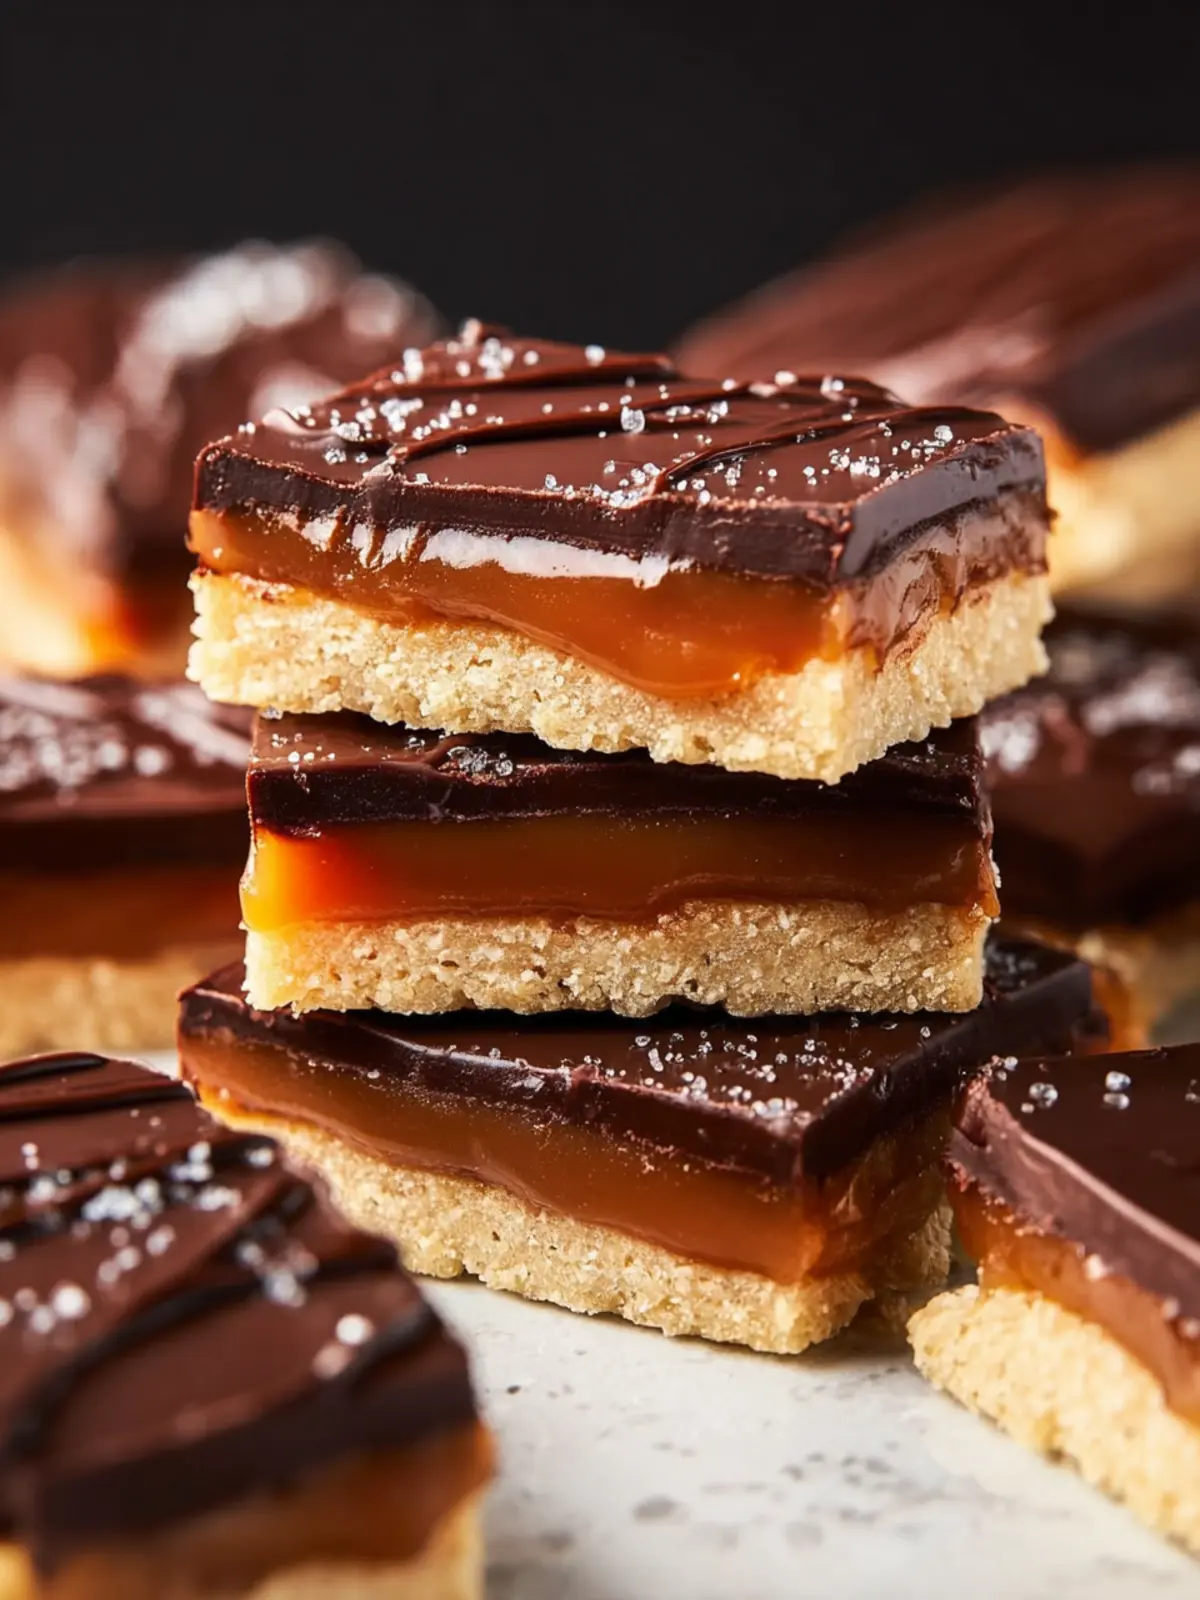
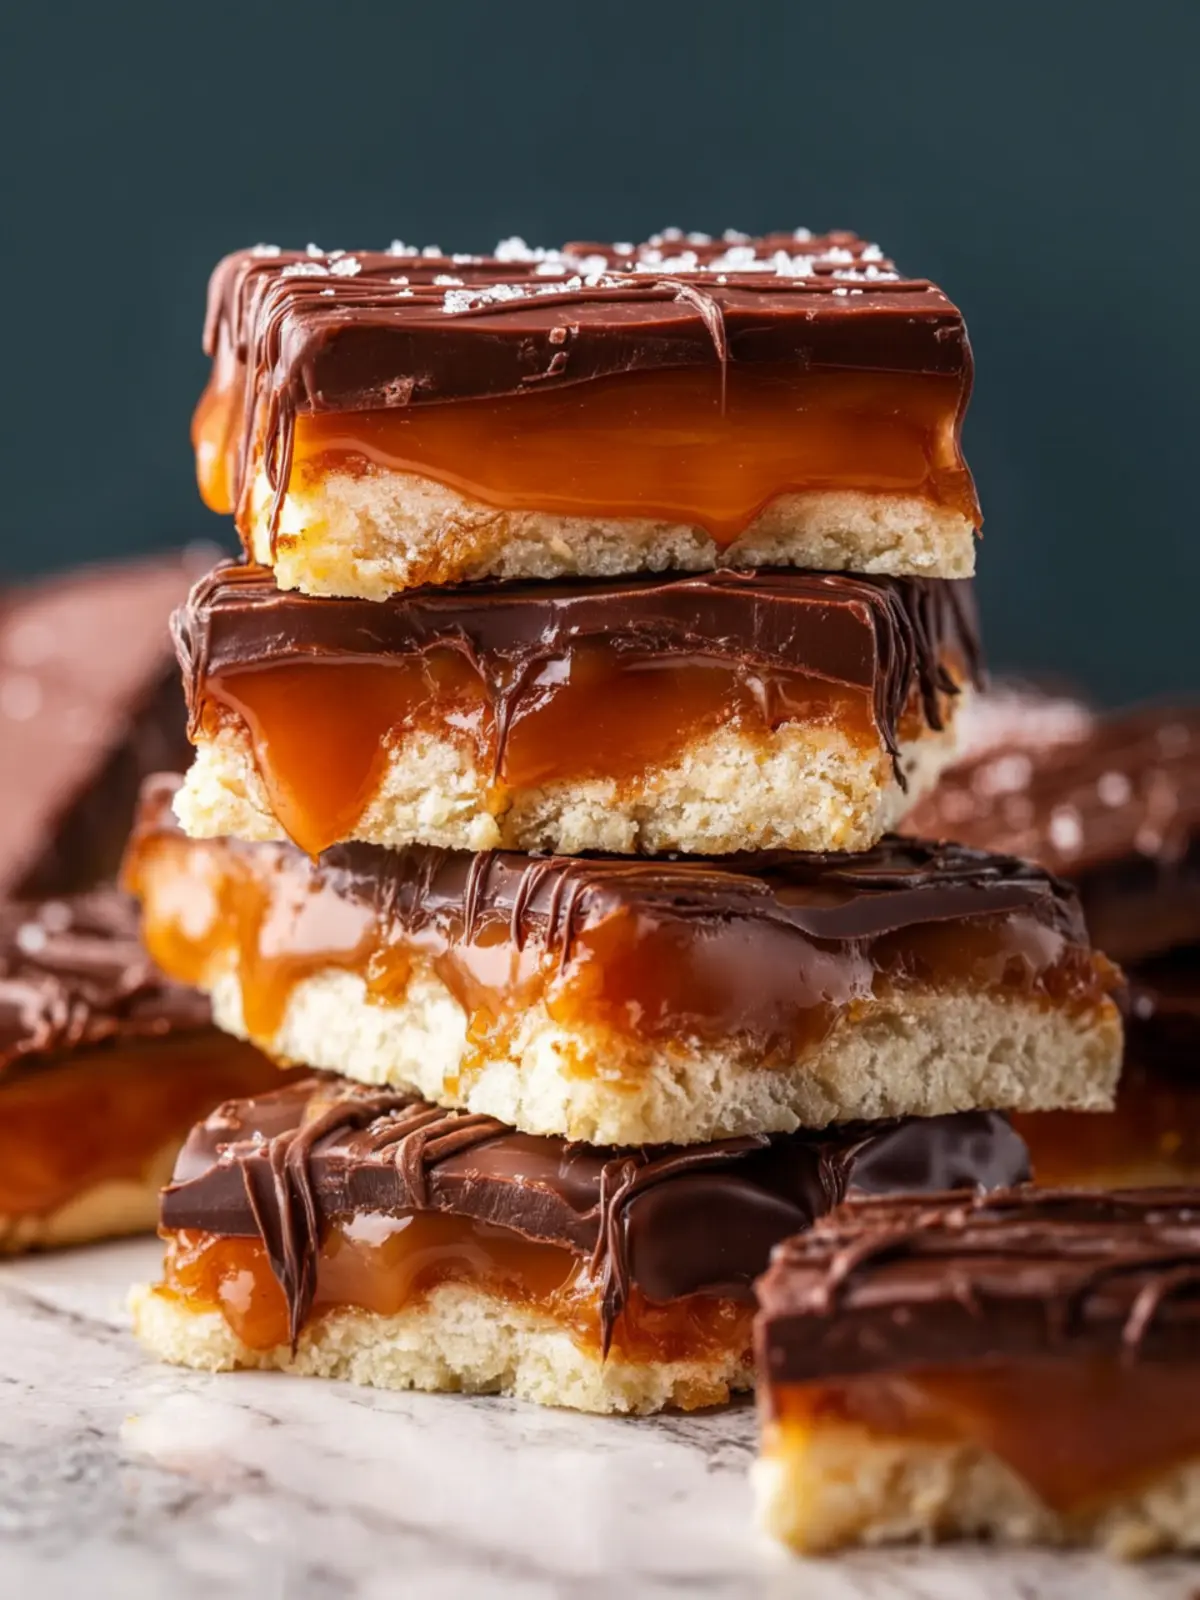
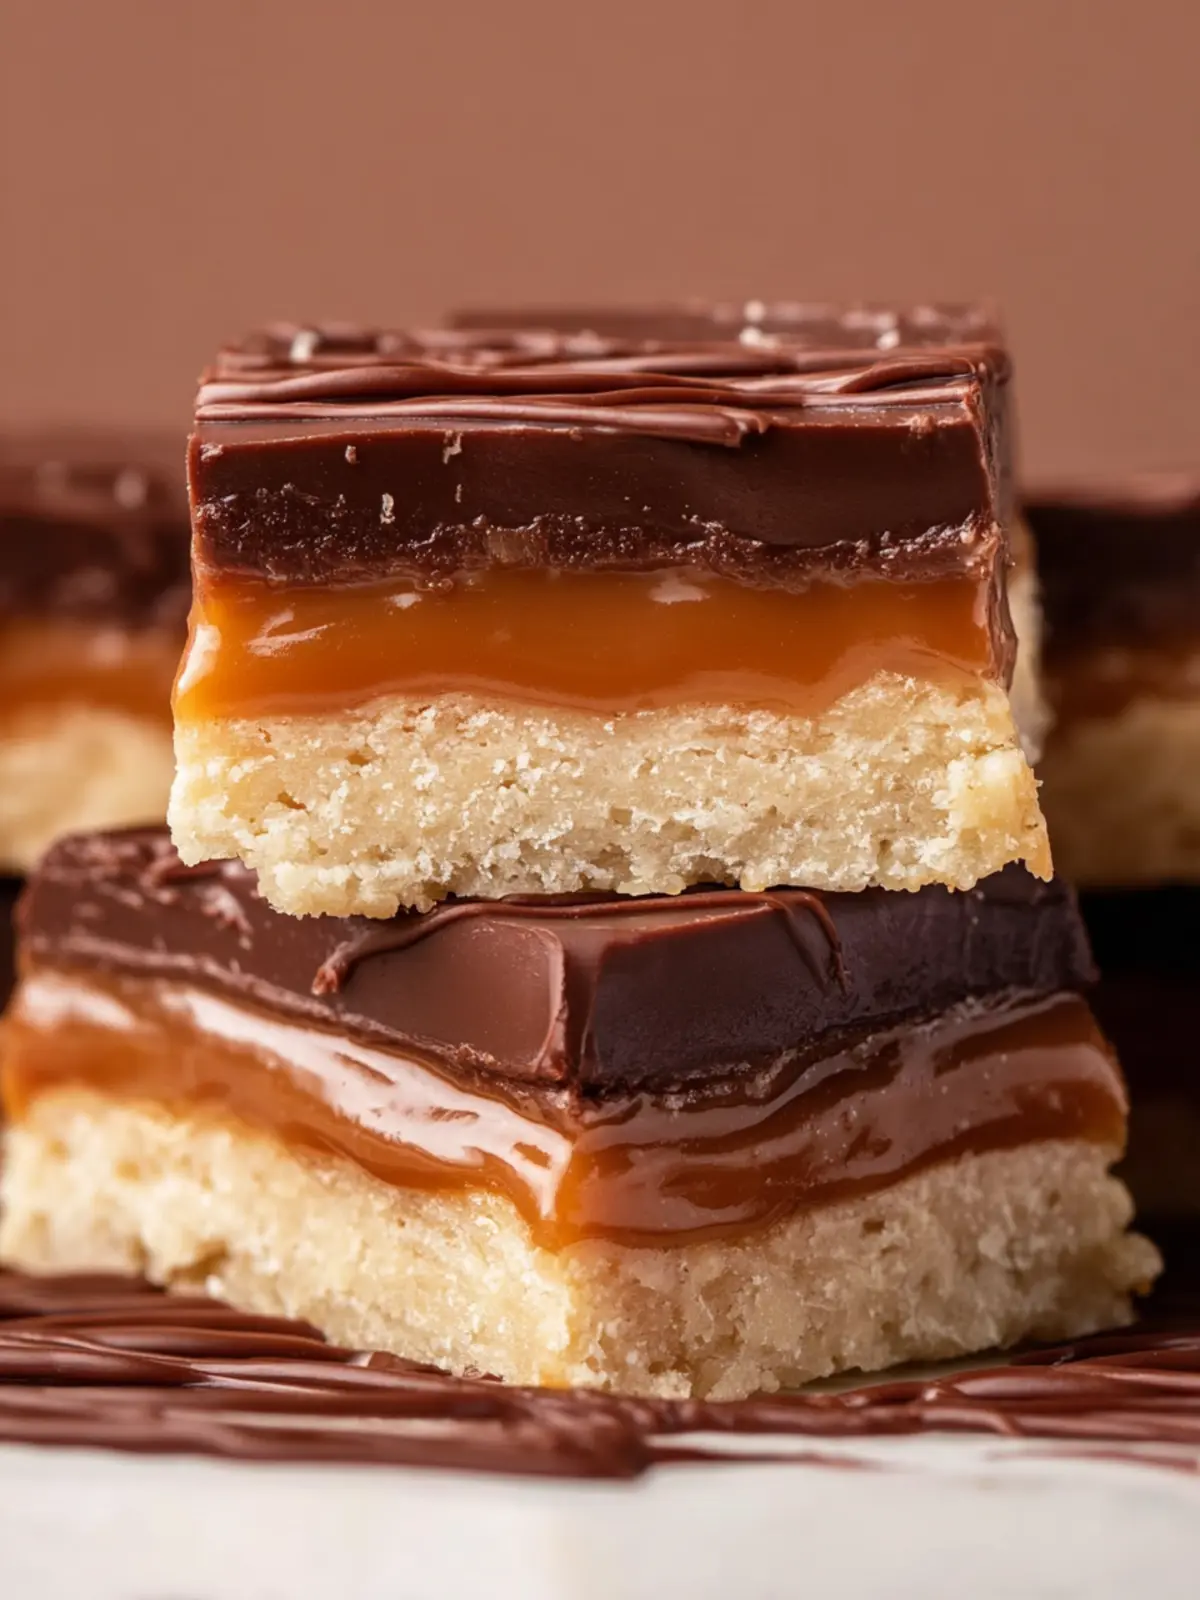
There’s something magically satisfying about homemade Twix bars. Picture this: the crunch of a buttery shortbread base giving way to a thick layer of creamy caramel, all enrobed in rich chocolate. These little bites of bliss not only satisfy your sweet tooth but also bring a touch of nostalgia back to childhood treats.
A Sweet Escape From Store-Bought
One reason you’ll adore making these bars at home is the freedom to customize the ingredients. Say goodbye to artificial flavors and preservatives! With just a few simple ingredients, you’re in control—choosing high-quality chocolate, fresh butter, and maybe even a sprinkle of sea salt to amplify that sweet-salty contrast.
Connect With Your Inner Baker
Creating homemade Twix bars is not just about the end result; it’s also about the experience. Picture yourself in the kitchen, the aroma of melting chocolate filling the air, as you craft something special. It’s a perfect weekend project that you can share with friends or family, making it even more rewarding. Plus, let’s face it—who wouldn’t love to show off their delightful creations?
Simple Yet Impressive
Despite how elegant they look, these bars are surprisingly straightforward to make. Even if baking isn’t your strong suit, the process is easy enough for anyone to follow. Trust me, once you give them a try, you’ll find yourself whipping up batch after batch to impress your guests or simply to indulge in a delicious treat!
Variations on Homemade Twix Bars
Creating your own homemade Twix bars is a delightful venture, but why stop at the classic version? Life is too short not to experiment with flavors, so let’s explore some variations that can add a new twist to your sweet creation.
Nutty Delight
For those who enjoy a crunchier bite, consider adding nuts to your homemade Twix bars. Chopped almonds or pecans mixed into the caramel layer not only enhance the flavor but also provide that extra texture you crave. Plus, nut lovers will appreciate the added richness!
Flavor Infusions
Imagine infusing your caramel with a hint of flavor! A dash of sea salt can elevate the sweetness to new heights. Alternatively, try adding a splash of vanilla or almond extract to the caramel for a unique twist that brings another layer of complexity to each bite.
Chocolate Alternatives
While milk chocolate is a favorite, dark chocolate adds a sophisticated flavor profile that balances the sweetness of the caramel and biscuit. If you’re feeling adventurous, white chocolate can also be used for a sweeter, creamier version of your homemade Twix bars.
Seasonal Variations
Don’t forget about seasonal flavors! Pumpkin spice or peppermint extract can bring a festive flair to your bars during the holidays. Just a tiny addition can transform your recipe and create delightful seasonal treats.
With these variations, your homemade Twix bars will surely impress and satisfy a crowd!
Cooking Tips and Notes for Homemade Twix Bars
Stepping into the world of homemade Twix bars feels like tapping into a treasure trove of flavor that pays homage to the classic treat we all know and love. Crafting these delightful candy bars isn’t just about following a recipe; it’s an experience brimming with personal touches and handy tips that elevate your kitchen game.
Use Quality Ingredients
-
Chocolate: Opt for high-quality chocolate for coating. This makes a significant difference in taste and texture. I find that 60% dark chocolate strikes the right balance of sweetness and richness.
-
Shortbread: Don’t skip on chilling the shortbread before baking. It helps maintain its shape and creates that perfect crumbly texture that contrasts beautifully with the gooey caramel.
Patience is Key
The caramel layer can be tricky to perfect. Stir it gently and allow it to reach a deep golden color; this ensures that it isn’t too runny or too firm once cooled. It might test your patience, but the result is so worth it!
Storage Tips
After creating your homemade Twix bars, store them in an airtight container in the refrigerator. They can last up to a week — though I doubt they’ll last that long! A little sprinkle of sea salt on top right before serving can enhance the flavor even more.
Each step in making these bars is a chance to add your personal touch and creativity. Enjoy the process, and remember that the joy of making these homemade Twix bars is as satisfying as devouring them!
Serving Suggestions for Homemade Twix Bars
Creating your own homemade Twix bars is just the beginning—the real fun lies in how you serve and enjoy them! These decadent treats can be easily customized to elevate your experience.
Share the Sweetness
Consider cutting your bars into bite-sized pieces for gatherings. Their rich layers of chocolate, caramel, and cookie are perfect for a dessert platter at parties. They’ll surely be a conversation starter!
Pairing with Beverages
These delightful bars balance beautifully with a hot cup of coffee or a warm glass of milk. The richness of the chocolate complements the crispness of the coffee, making it a perfect afternoon snack or post-dinner treat.
Creative Serving Ideas
Try serving your homemade Twix bars with a scoop of vanilla ice cream. The cold, creamy texture melds perfectly with the caramel and chocolate, creating a delicious contrast that feels indulgent.
Thoughtful Packaging
For a sweet gift, package them in a decorative box or jar. Tying with a ribbon offers an adorable touch that friends and family will appreciate. Who wouldn’t love unwrapping a homemade treat?
No matter how you choose to serve your homemade Twix bars, they’re sure to bring smiles!
Time Breakdown for Homemade Twix Bars
Creating decadent homemade Twix bars isn’t just about the end result; it’s about enjoying the process. Knowing how long each step takes can make the journey smoother and more enjoyable. Here’s a breakdown of the time involved:
Preparation Time
Set aside about 20 minutes to measure, mix, and prepare your ingredients. This is where the magic begins, so enjoy gathering everything you’ll need.
Baking Time
The baking will take around 30 minutes. Make sure your kitchen is filled with that irresistible aroma as the base gets perfectly golden!
Cooling Time
After baking, let your bars cool for at least 1 hour. This step is crucial for achieving that ideal texture before you add the layers.
Total Time
In total, you’re looking at approximately 1 hour and 50 minutes from start to finish. But trust me, the deliciousness you’ll create will make every minute worth it!
Nutritional Facts for Homemade Twix Bars
Creating your own homemade Twix bars not only satisfies your sweet tooth but also allows you to monitor what goes into them. Here’s a look at the nutritional breakdown so you can enjoy these treats guilt-free.
Calories
One serving of these homemade Twix bars typically contains around 200 calories. This makes them a delightful treat, perfect for indulging every now and then without tipping the scale.
Sugar Content
These bars come with a sweet kick, packing about 15 grams of sugar per serving. While this offers a delightful flavor burst, be mindful of how many you consume in one sitting!
Fats
On the fat front, you’re looking at approximately 10 grams per serving, primarily from the buttery shortbread and chocolate coating. This brings a rich texture that pairs beautifully with the crispness of the cookie base.
Now that you know the nutritional facts, enjoy your homemade Twix bars while striking the right balance in your diet!
FAQs about Homemade Twix Bars
Creating homemade Twix bars can feel like an exciting journey into confectionery magic, especially when you know you can customize them to your taste. Here are some frequently asked questions to help you craft the perfect treat.
Can I make these bars ahead of time?
Absolutely! One of the wonderful aspects of homemade Twix bars is that they can be made up to a week in advance. Simply prepare the bars, let them chill completely, and then store them in an airtight container in the fridge. Not only does this method maintain their freshness, but it also allows the flavors to meld beautifully over time.
How long do these bars last?
When properly stored, your delicious homemade Twix bars can last for about 5-7 days in the refrigerator. If you wish to keep them longer, you can freeze them! Wrap each bar tightly in plastic wrap and place them in a freezer-safe bag or container. They can last for up to three months frozen. Just make sure to let them thaw in the refrigerator before enjoying them.
What are some common mistakes to avoid?
Even the most seasoned bakers can make a few missteps! Here are some pitfalls to keep an eye on:
- Overcooking the shortbread: Aim for a light golden color; this keeps the base tender.
- Skipping the chilling step: Chilling allows the layers to set firmly, which means cleaner cuts when you slice your bars.
- Mismatching chocolate: For the best flavor, use high-quality chocolate. It makes a significant difference in taste.
By avoiding these common mistakes, you’ll create homemade Twix bars that are sure to impress! Enjoy your baking adventure!
Conclusion on Homemade Twix Bars
Crafting your own homemade Twix bars is not just a culinary project; it’s an experience filled with creativity and nostalgia. By bringing together layers of delicious shortbread, smooth caramel, and rich chocolate, you can easily recreate that beloved candy bar at home. Each bite promises a delightful crunch followed by a sweet chew that transports you back to simpler days. Sharing these treats with friends or enjoying them on a quiet evening can turn an ordinary day into something special. So, roll up your sleeves, gather your ingredients, and treat yourself to the joy of homemade Twix bars today!
Print
Chocolate Caramel Shortbread Bars
- Total Time: 1 hour 23 minutes
- Yield: 16 bars 1x
- Diet: Vegetarian
Description
Delicious chocolate caramel shortbread bars that are rich and indulgent.
Ingredients
Scale
- ¾ cup butter (softened)
- ⅓ cup granulated sugar
- 1 teaspoon vanilla extract
- 1 ½ cups all-purpose flour
- 11 ounces soft caramel candies (unwrapped)
- 3 Tablespoons heavy cream
- 12 ounces milk chocolate chips (or semi-sweet)
- 1 Tablespoon coconut oil
- to taste flakey sea salt (optional)
Instructions
- Preheat your oven to 375℉.
- Add the softened butter and granulated sugar to the bowl of a stand mixer fitted with the paddle attachment. Beat on medium-high speed for 2-3 minutes, or until the mixture is light and fluffy.
- Next, mix in the vanilla and then add the flour gradually. Mix just until all of the flour is incorporated.
- Line a 8×8 baking dish with parchment paper. Pat the dough into the dish.
- Bake for 15-18 minutes, or until the edges are starting to turn golden brown. Set aside to cool.
- Add the soft caramels and heavy cream to a small saucepan over medium heat. Cook, stirring often, until melted- about 5 minutes. Pour over the shortbread base.
- Place the shortbread and caramel in the fridge to cool until set, about 45 minutes.
- Combine the chocolate and coconut oil in a small microwave-safe bowl. Microwave for 30 second intervals, stirring after each, until fully melted. Pour over the hardened caramel and top with flake sea salt, if using.
- Place the bars back into the fridge to chill until the chocolate has fully set- about 45 minutes.
- When the chocolate has fully hardened, let the bars sit at room temp for 10 minutes then slice the bars into your desired size and enjoy.
Notes
- Chill the bars for a firmer texture.
- You can substitute semi-sweet chocolate chips for milk chocolate if preferred.
- Prep Time: 20 minutes
- Cook Time: 18 minutes
- Category: Dessert
- Method: Baking
- Cuisine: American
Nutrition
- Serving Size: 1 bar
- Calories: 210
- Sugar: 14g
- Sodium: 90mg
- Fat: 12g
- Saturated Fat: 7g
- Unsaturated Fat: 4g
- Trans Fat: 0g
- Carbohydrates: 24g
- Fiber: 1g
- Protein: 2g
- Cholesterol: 30mg