Follow Me On Social Media!
Easy Cherry Pie Bars: Irresistibly Sweet Treat for Everyone!
Introduction to Easy Cherry Pie Bars for a Crowd
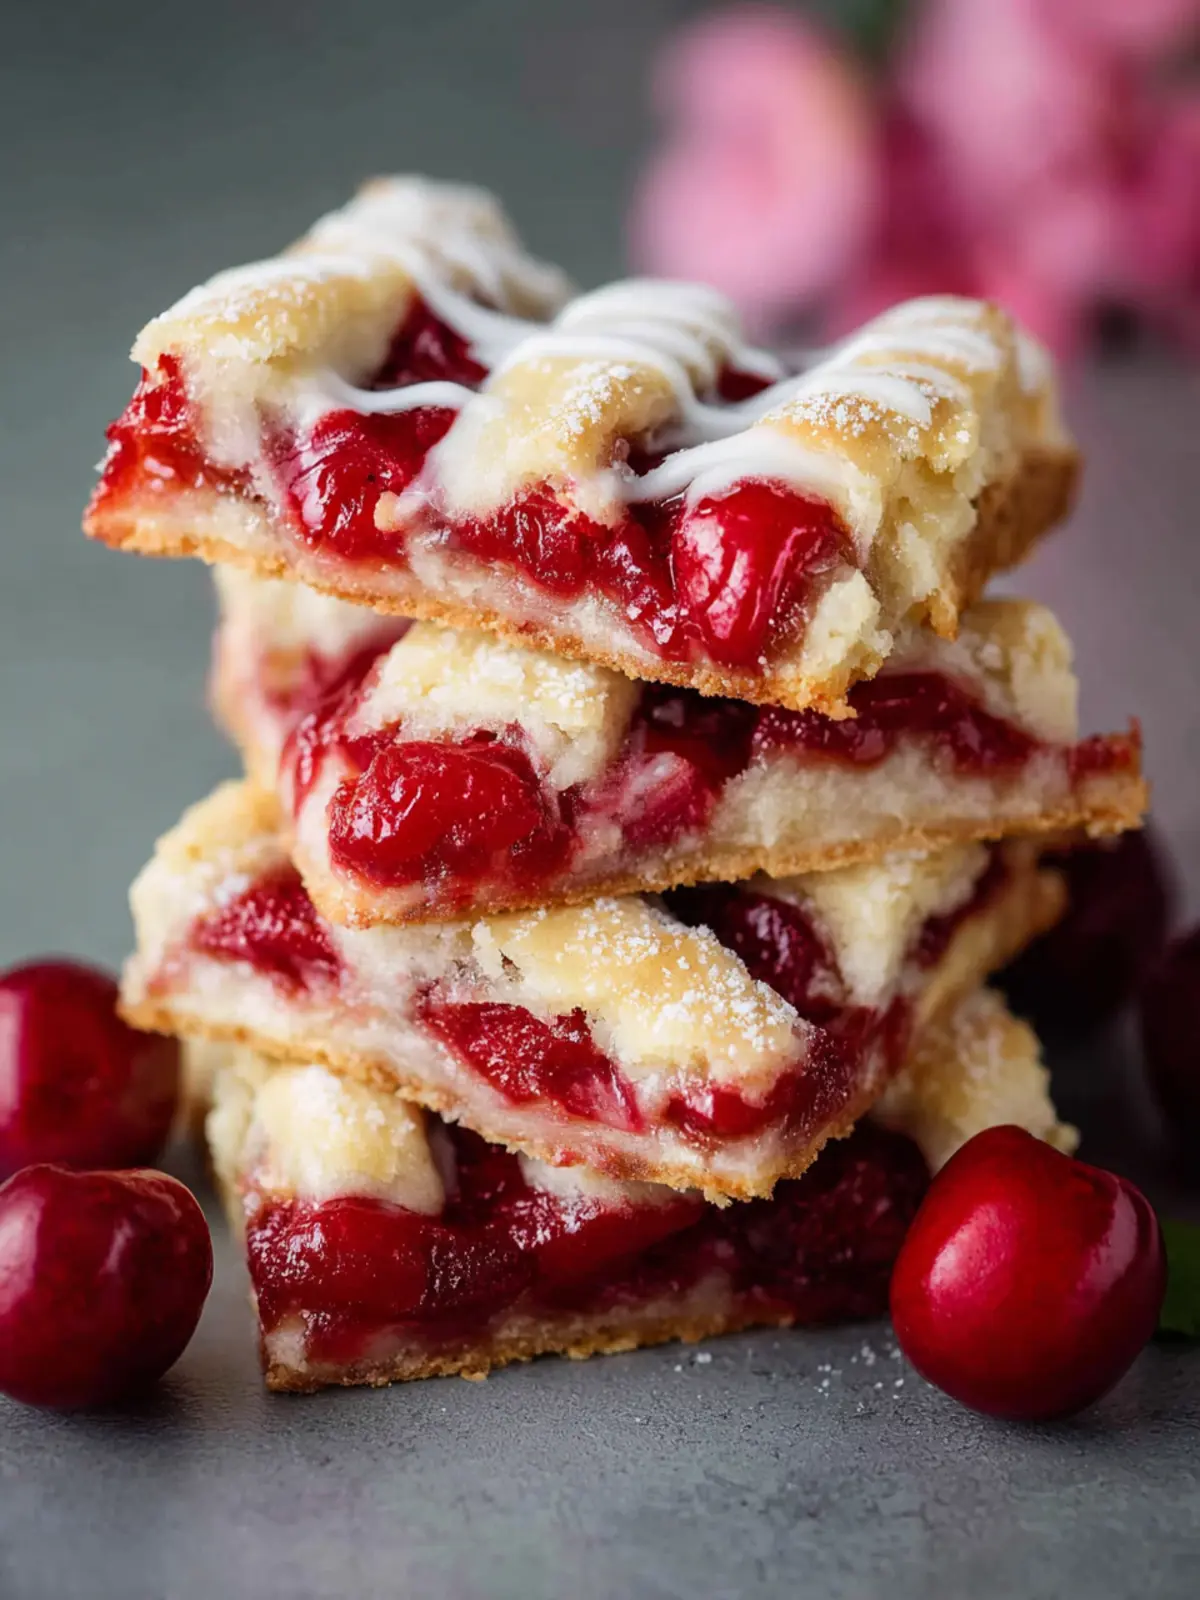
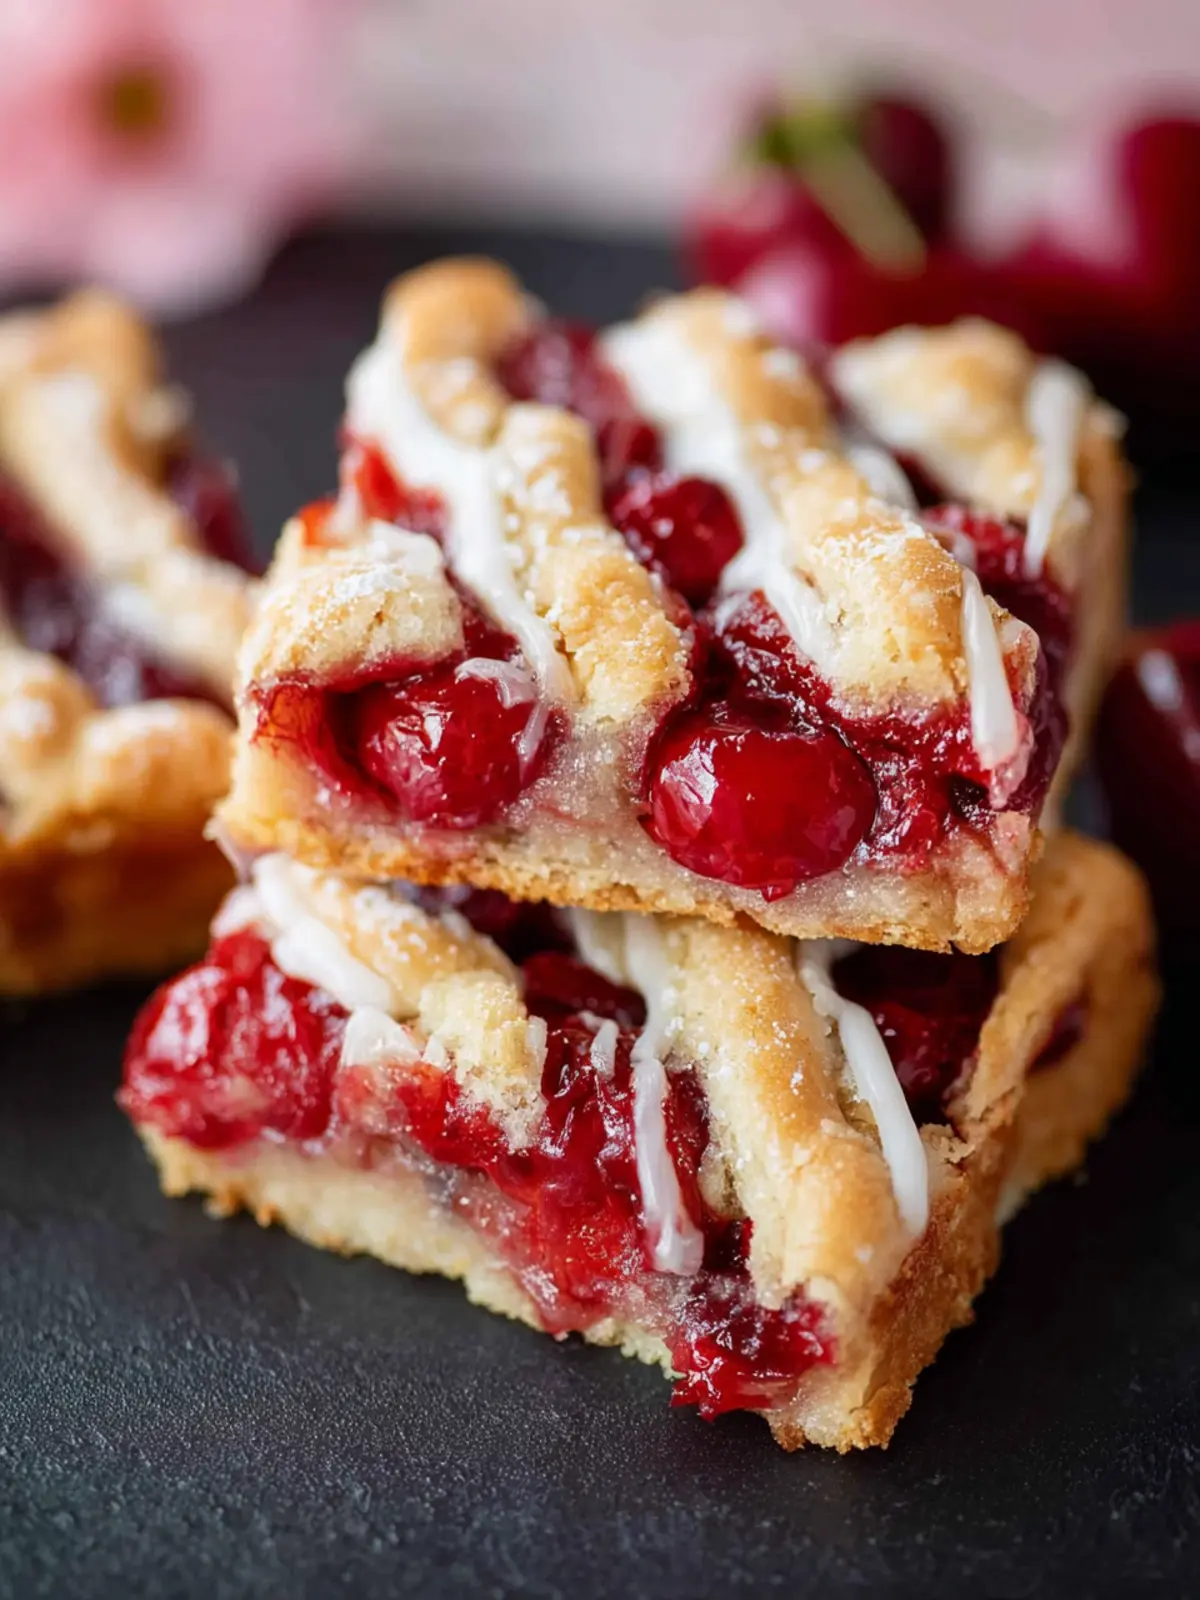
There’s something wonderfully nostalgic about easy cherry pie bars, evoking memories of summer picnics and family gatherings where dessert takes center stage. These delightful treats, with their sweet, tangy cherry filling nestled between buttery golden crusts, offer a refreshing spin on the classic cherry pie. What can be more satisfying than a dessert that tastes homemade but comes together effortlessly? Not only are these bars delicious, but they’re also the perfect way to serve a crowd, making them an ideal addition to any potluck or celebration.
A vivid memory of mine involves a warm summer evening when my friends and I gathered for a backyard barbecue. My goal was to impress with a dessert everyone would talk about long after the plates were cleared. That’s when I discovered these easy cherry pie bars. Their bright cherry flavor and convenient, portioned squares were a hit. I found myself not just serving a dessert, but sharing joyful moments filled with laughter and delight over each bite.
Why Cherry Pie Bars are Perfect for Any Occasion
Whether you’re planning a birthday party, a holiday feast, or simply looking for a sweet way to brighten your week, easy cherry pie bars make an excellent choice for several reasons:
- Crowd-Pleasing Flavor: With a delightful combination of sweet and tart cherries encased in buttery crust, these bars appeal to both kids and adults alike.
- Easy to Prepare: Unlike a traditional pie, these bars come together quickly, allowing you more time to focus on other aspects of your gathering — like catching up with friends or family.
- Transport Friendly: Their bar format means you don’t have to worry about slicing and serving; just cut into squares, and you’re set to go. Perfect for taking to potlucks or picnics!
- Versatile Toppings: Whether you opt for a scoop of ice cream, a dollop of whipped cream, or simply savor them as they are, they can adapt to suit any palate or occasion.
So, why not whip up a batch of easy cherry pie bars for your next gathering? They might just become your new go-to dessert!

Key Ingredients for Easy Cherry Pie Bars for a Crowd
Cherry Filling: The star of the show in these easy cherry pie bars is, of course, the cherry filling. I prefer using fresh or frozen cherries for a burst of flavor and a vibrant color that sets the mood for any gathering. If fresh cherries aren’t in season, opt for a quality canned cherry pie filling; just be sure to check for added sugars if you’re looking for something a bit more natural.
Butter: Richness and moisture come from butter, which I use to create both the crust and the crumble topping. Melt it for the crust to achieve that perfect blend of crispy and tender. Trust me, it makes all the difference!
Sugar: A combination of granulated and brown sugar elevates the sweetness. The granulated sugar provides a clean sweetness for the crust, while brown sugar in the crumble topping adds a subtle caramel flavor that beautifully complements the tart cherries.
Flour: All-purpose flour is key here; it gives the crust its structure while keeping it light and flaky. If you need a gluten-free option, a substitute like almond flour can work, though it may alter the texture slightly.
Almond Extract: This is an optional but delightful addition! Just a splash enhances the cherry flavor, giving your bars that extra special touch that’ll have guests asking for your secret.
With these ingredients, you’ll be whipping up delicious easy cherry pie bars that will impress any crowd!
Why You’ll Love These Easy Cherry Pie Bars for a Crowd
Convenience and Crowd-Pleasing Appeal
You’re hosting a gathering, and the last thing you want is to spend hours in the kitchen. That’s where easy cherry pie bars shine! These delightful treats offer all the flavors of a traditional cherry pie without all the fuss. Just imagine setting out a platter of warm, gooey, cherry-filled bars, and watching as your friends and family inevitably gravitate toward them.
-
Simple Preparation: This recipe is incredibly straightforward. With minimal prep time and easy-to-find ingredients, you can whip these up in no time. The bars bake evenly and cut beautifully, making them perfect for sharing.
-
Ideal for Any Occasion: Whether it’s a backyard barbecue, a potluck, or a cozy get-together, these bars fit right in. Their bright red filling and buttery crust add a pop of color and a touch of nostalgia, evoking memories of summer picnics and family gatherings.
-
Versatile Serving Options: You can serve them warm with a scoop of vanilla ice cream, or let them cool to room temperature and enjoy them with a cup of coffee. This flexibility makes them a hit with everyone, guaranteed.
Embrace the joy of creating a delicious dessert that’s as easy as it is irresistible. You’ll love how simple it is to bring smiles and satisfaction to your guests!
Variations on Easy Cherry Pie Bars
Explore Different Fruit Fillings
Easy cherry pie bars are a delightful treat that can be adapted in so many ways, making them perfect for any occasion. While cherry is a classic favorite, don’t hesitate to get creative with different fruit fillings that speak to your taste buds and whimsy!
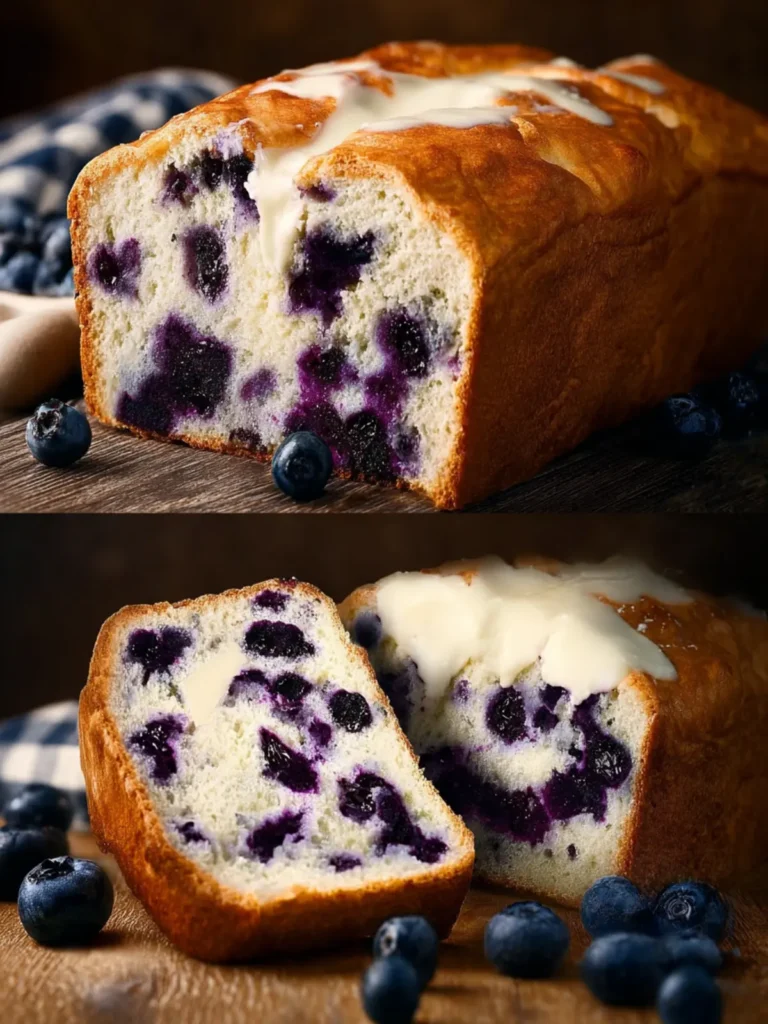
- Blueberries: If you’re in the mood for something sweeter, opt for fresh blueberries. Their juicy burst complements the buttery crust beautifully.
- Peaches: Fresh or canned peaches bring a sunny flavor that’s reminiscent of summer. Just ensure they’re well-drained if canned, to avoid sogginess.
- Apple Cinnamon: For a cozy twist, try a spiced apple filling with cinnamon. It evokes memories of fall, especially when topped with a crumbly oat streusel.
- Strawberries: Sweet and tangy, strawberries add brightness to your bars. Mix them with a touch of lemon juice to amplify their flavor.
- Raspberry: For a tart zing, raspberry filling offers a stunning contrast to the sweet, buttery layers. Just remember to balance the sweetness to keep it delightful.
Experimenting with these variations can transform your easy cherry pie bars into a versatile dessert that you and your guests will crave again and again. Go ahead, let your creativity shine!
Cooking Tips and Notes for Perfect Easy Cherry Pie Bars
Baking a batch of easy cherry pie bars creates a delightful aroma that fills your kitchen with warmth and nostalgia. While the recipe may seem straightforward, there are several key techniques to ensure your bars turn out perfectly every time. Here’s how you can elevate your baking game!
Key Techniques for Success
-
Use Fresh Cherries: For the best flavor, consider using fresh cherries when they’re in season. They’re naturally sweet and bursting with juice! If fresh cherries aren’t an option, opting for high-quality canned cherries can still yield great results but make sure they are well-drained to avoid sogginess.
-
Chill Your Dough: Don’t skip the chilling step for your crust. Keeping the butter cold allows for those beautifully flaky layers. After mixing the dough, let it rest in the refrigerator. This makes it easier to roll out and helps maintain the flaky texture during baking.
-
Layer Wisely: When assembling your easy cherry pie bars, spread the cherry filling evenly and avoid overfilling. Too much filling can cause the bars to break apart, so aim for a generous yet controlled amount!
-
Watch the Browning: Every oven is different. Keep an eye on your bars toward the end of baking. You want that golden-brown color without burning the edges. If they start to darken too quickly, cover them loosely with aluminum foil.
-
Let Them Cool: Patience is key! Allow your bars to cool completely before slicing. This helps the filling set and makes for cleaner cuts, giving you those perfect, Instagram-worthy squares.
By following these tips, your easy cherry pie bars will not only taste fantastic but will also look beautifully presented, making them a hit for any gathering!
Serving Suggestions for Easy Cherry Pie Bars
How to Make Them Shine on Your Dessert Table
When you think about serving easy cherry pie bars, imagine how they can become the star of any gathering. Their vibrant red filling and golden crust make for a striking display. Here are some ways to elevate these delightful treats:
-
Serve with Fresh Whipped Cream: A dollop of homemade whipped cream on top adds a luscious creaminess that balances the tartness of the cherries.
-
Pair with Vanilla Ice Cream: Warm bars with a scoop of vanilla ice cream create a comforting dessert experience that’s hard to resist.
-
Garnish with Mint Leaves: Sprinkling fresh mint leaves not only adds color but also offers a refreshing contrast to sweet cherries.
-
Create a Dessert Charcuterie Board: Cut the bars into bite-sized pieces and arrange them alongside fruits, nuts, and cheese for a fun dessert platter.
These serving suggestions not only showcase the easy cherry pie bars beautifully but also enhance the overall dessert experience, making your gathering even more memorable!
Time Breakdown for Easy Cherry Pie Bars
Creating easy cherry pie bars is not just about the delicious taste—it’s also about managing your time efficiently. Here’s a quick breakdown to help you enjoy the process without feeling rushed.
Preparation Time
Start by setting aside about 20 minutes for preparation. This includes mixing the crust ingredients, spreading them in the pan, and prepping the cherry filling. It’s a delightful way to unwind after a busy day.
Baking Time
Once everything is in the oven, you’ll need approximately 30 minutes for baking. The aroma will fill your kitchen, making it hard to resist sneaking a peek (or two!).
Total Time
In about 50 minutes, you’ll have a platter of easy cherry pie bars ready for any gathering. This manageable timeline means you can whip up a dessert without spending all day in the kitchen. Enjoy!
Nutritional Facts for Easy Cherry Pie Bars
When indulging in easy cherry pie bars, it’s essential to understand their nutritional makeup to enjoy them guilt-free. Each delightful square of this dessert is not just a treat, but a balance of sweet and satisfying flavors.
Calories
These flavorful bars come in at approximately 220 calories per serving. This makes them a manageable treat, whether you’re at a picnic or enjoying a cozy night in.
Sugar Content
With about 15 grams of sugar, the sweetness of the cherries shines through without overwhelming your palate. This level provides that classic dessert experience while still being mindful of your sugar intake.
Fat Content
Each serving contains roughly 8 grams of fat, largely attributed to the buttery crust that holds all that delicious cherry filling. It’s a reminder that desserts can be joyful and satisfying, without being overly rich.
In every bite of these easy cherry pie bars, you’ll not only savor rich flavors but also appreciate a balanced snack that can be enjoyed with friends or solo.
FAQs about Easy Cherry Pie Bars
Creating easy cherry pie bars is just the beginning of a delightful baking journey that many enjoy. But once the bars are made, questions often pop up. Here are some answers to common inquiries that can help you enjoy your cherry pie bars to the fullest!
Can I use fresh cherries instead of pie filling?
Absolutely! Using fresh cherries in your easy cherry pie bars adds a wonderful, tart flavor that many adore. Just make sure to pit and chop them before adding to the filling. You might want to mix them with a bit of sugar and cornstarch to create a similar consistency to pie filling. This will help maintain that classic pie taste!
How do I store leftovers?
Storing your easy cherry pie bars is simple! Keep them in an airtight container at room temperature for up to three days. If you want to extend their life, refrigerate them for about a week. For longer storage, consider freezing the bars. Wrap them tightly in plastic wrap, then place them in a freezer-safe container. They’ll stay fresh for about three months. Just thaw at room temperature before serving!
What other toppings can I use besides glaze?
Glaze isn’t your only option for topping your easy cherry pie bars! Here are a few tasty alternatives:
- Whipped Cream: A dollop of fresh whipped cream adds a beautiful contrast to the bars.
- Ice Cream: Serve warm bars with a scoop of vanilla or almond ice cream for a delicious twist.
- Chocolate Drizzle: A drizzle of melted chocolate over the top can elevate the dessert’s flavor profile.
- Nuts or Crumbles: Sprinkle chopped nuts or a crunchy crumble topping for added texture.
By exploring these options, you can find the perfect complement to your delicious cherry pie bars!
Conclusion on Easy Cherry Pie Bars for a Crowd
Final Thoughts on Creating Memorable Treats
As you wrap up making your easy cherry pie bars, remember that the joy of baking lies not just in the taste but in the memories you create. These delightful bars are perfect for any gathering, bringing friends and family together around a sweet treat. By using fresh ingredients and following the simple steps, you transform ordinary moments into extraordinary experiences. Imagine the smiles on everyone’s faces as they savor each bite of these scrumptious bars. So the next time you need a crowd-pleaser, don’t hesitate—bake your easy cherry pie bars and watch them disappear!
Print
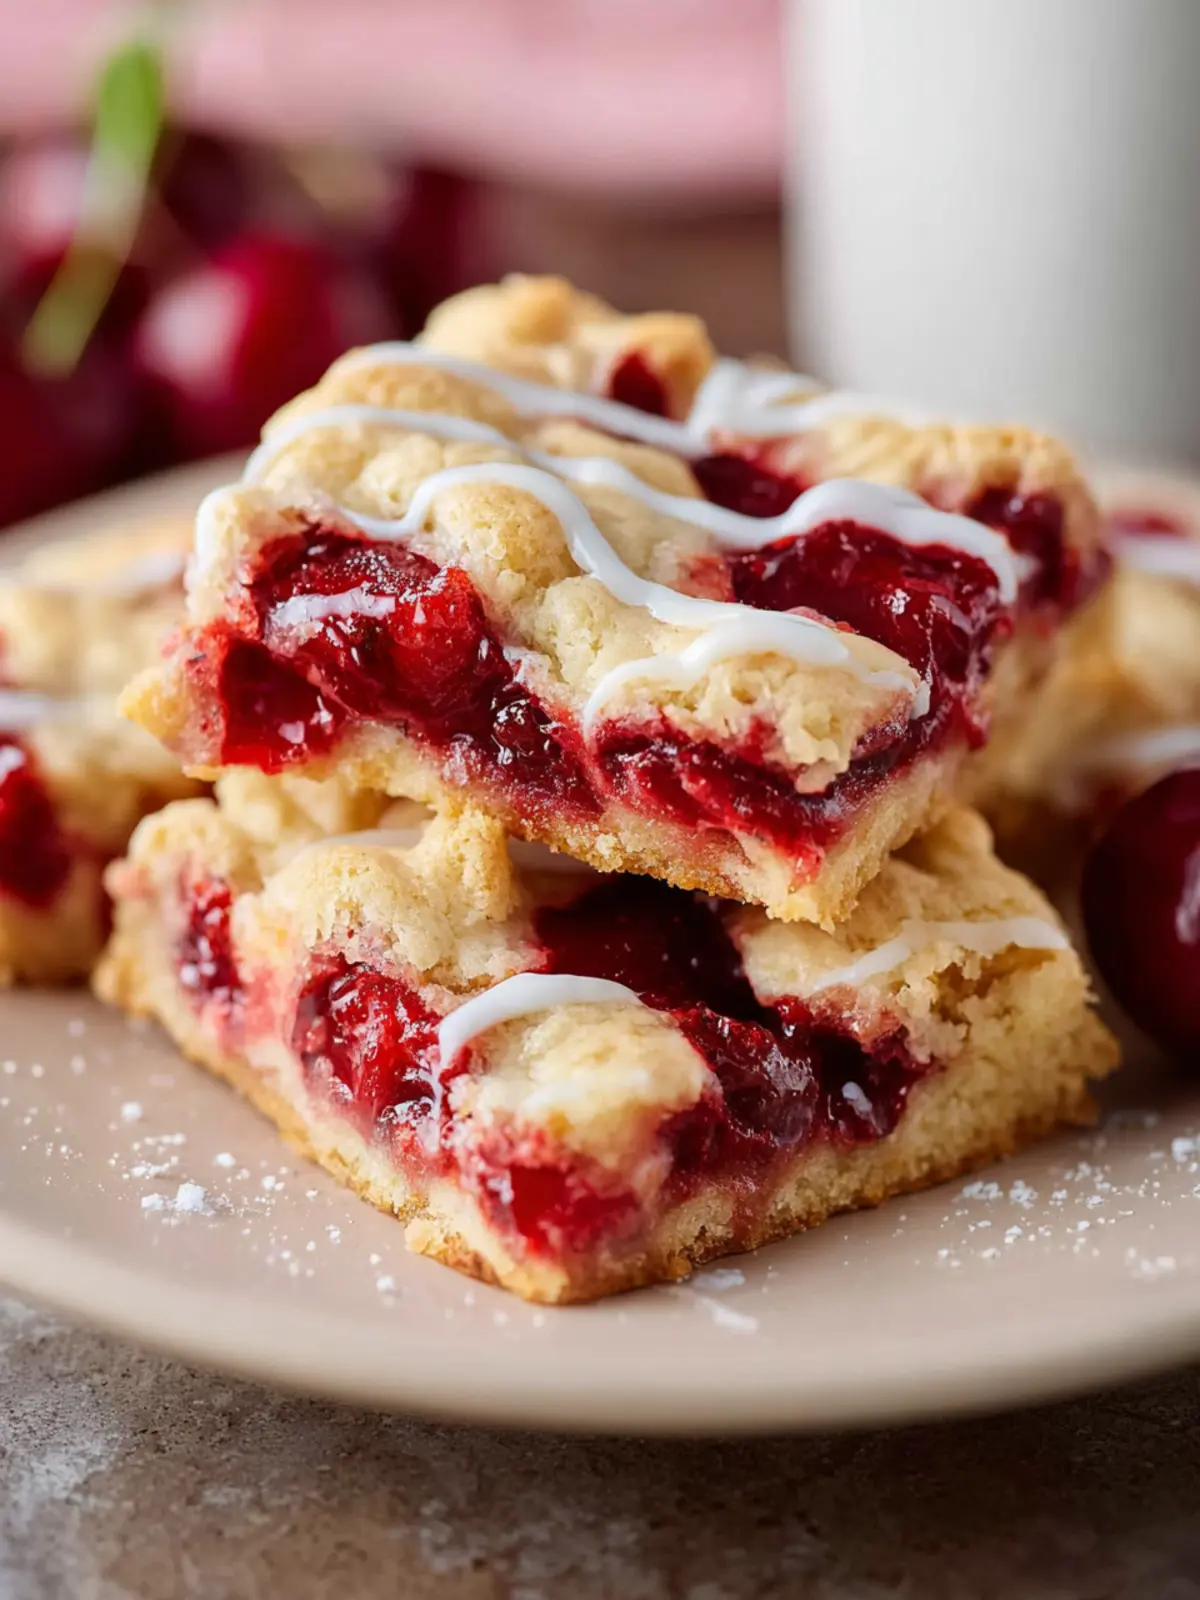
Cherry Pie Bars
- Total Time: 1 hour
- Yield: 12 servings 1x
- Diet: Vegetarian
Description
Delicious cherry pie bars topped with a sweet glaze.
Ingredients
Scale
- 1 cup butter, softened at room temperature
- 2 cups granulated sugar
- 1 teaspoon salt
- 4 large eggs, room temperature
- 1 teaspoon vanilla extract
- 1/4 teaspoon almond extract
- 3 cups all-purpose flour
- 2 cans (540ml each) cherry pie filling
- 1 and 1/2 cups powdered sugar (for glaze)
- 1/2 teaspoon vanilla (for glaze)
- 2–3 tablespoons milk (for glaze)
Instructions
- Grease a 15x10x1-inch baking pan. Preheat oven to 350°F.
- In a large mixing bowl, or bowl from stand mixer, cream together softened butter, granulated sugar and salt for 5 to 7 minutes until light and fluffy. The mixture should be light and lemon-colored.
- Next, add in the eggs, one at a time beating well after each addition.
- Beat in vanilla and almond extracts.
- Gradually add in flour, one cup at a time, stirring just until combined.
- Remove 3 cups of the dough and spread evenly into prepared baking pan. (My pan was a bit larger and I didn’t go all the way to the edges)
- Top with both cans of cherry pie filling, leaving about 1 and 1/2-inches around the edges.
- Drop the remaining dough by teaspoonfuls over the cherry pie filling. A small cookie scoop works great!
- Bake in 350°F oven for 35 to 40 minutes or until light golden brown. Cool completely in pan on wire cooling rack.
- In a small bowl, whisk together powdered sugar, vanilla extract and enough milk to reach desired consistency. Drizzle over top of cooled bars.
Notes
- Ensure the butter is softened at room temperature for better mixing.
- The cherry pie filling can be adjusted based on taste preferences.
- Prep Time: 20 minutes
- Cook Time: 40 minutes
- Category: Dessert
- Method: Baking
- Cuisine: American
Nutrition
- Serving Size: 1 bar
- Calories: 280
- Sugar: 25g
- Sodium: 200mg
- Fat: 12g
- Saturated Fat: 7g
- Unsaturated Fat: 4g
- Trans Fat: 0g
- Carbohydrates: 38g
- Fiber: 1g
- Protein: 3g
- Cholesterol: 70mg